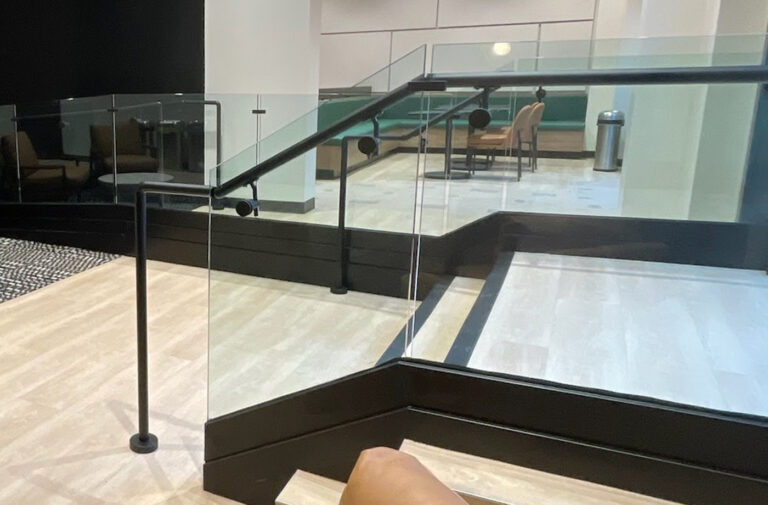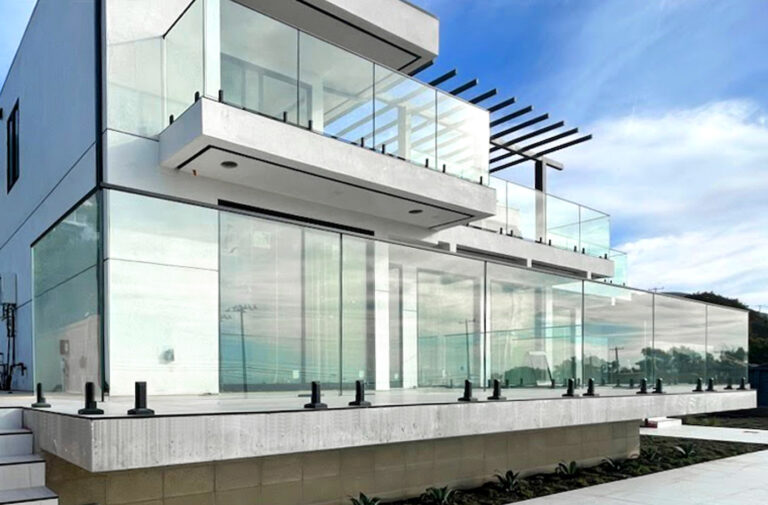
If you’re looking for a sleek, modern railing system that enhances the beauty of your space, the spigot system for glass railings is an excellent choice. This system uses minimalist stainless-steel clamps to secure glass panels, offering a frameless design that maximizes both style and safety. Here’s your complete step-by-step guide to installing a spigot system.
1. What is a Spigot System?
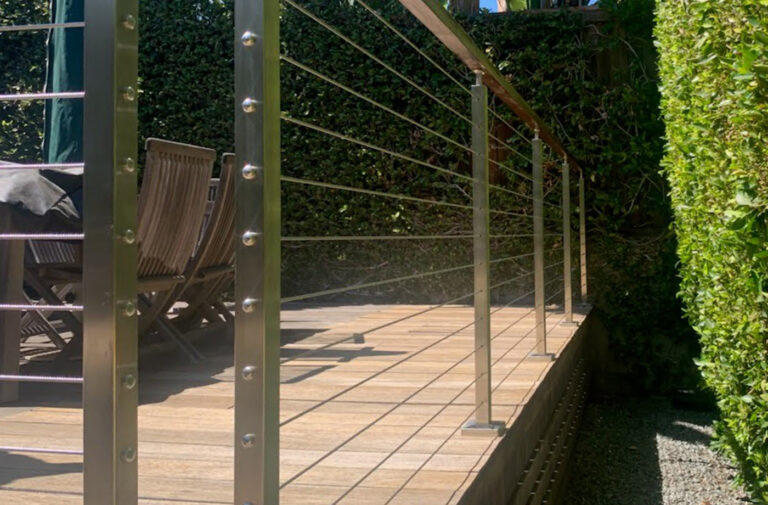
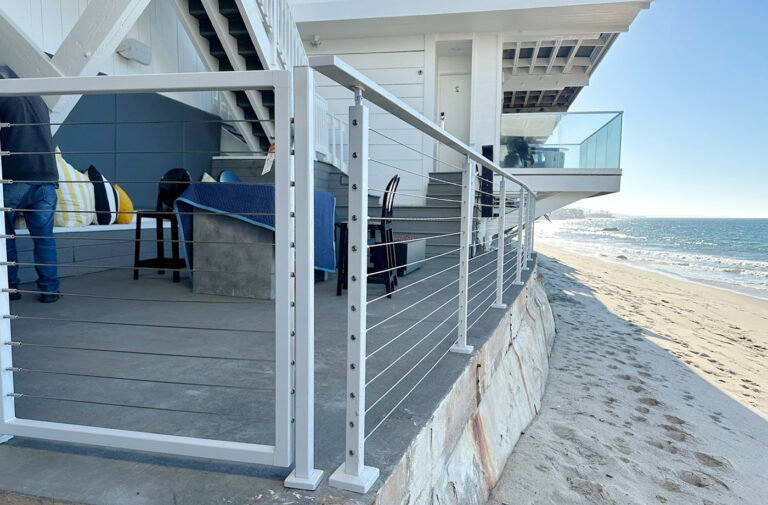
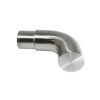
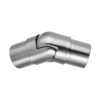
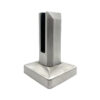
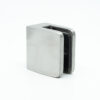
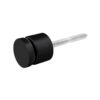
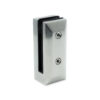
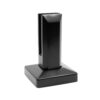
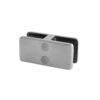
A spigot system uses compact, stainless-steel clamps (known as spigots or mini clamps) to support glass panels from the bottom, eliminating the need for vertical posts. This creates a contemporary, open look while maintaining high structural integrity. Key benefits include:
✔ Minimalist Design: No bulky posts for a sleek, unobstructed appearance.
✔ Clear Views: Perfect for spaces like balconies, staircases, or pool areas where views are a priority.
✔ Sturdy Support: Strong and durable, the system ensures your glass panels are safely anchored.
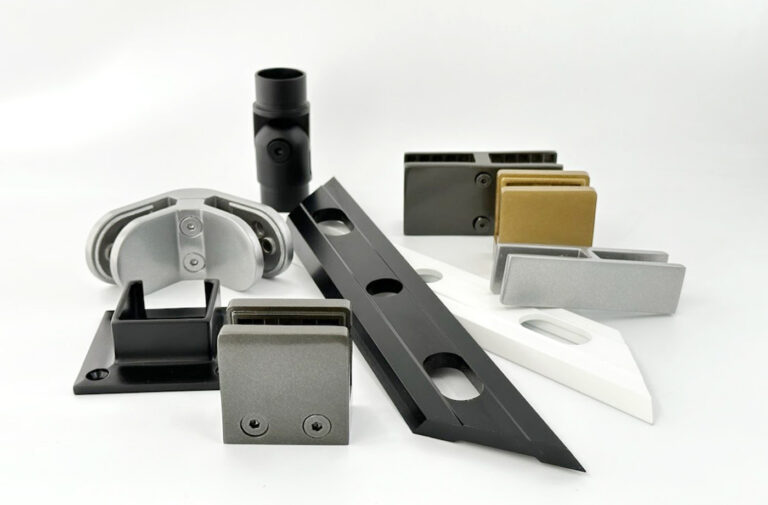
2. Tools & Materials Needed
Before you begin, gather the following tools and materials:
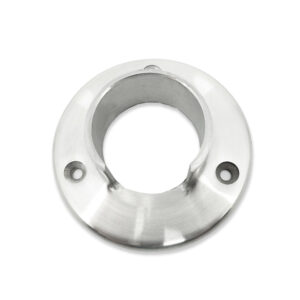
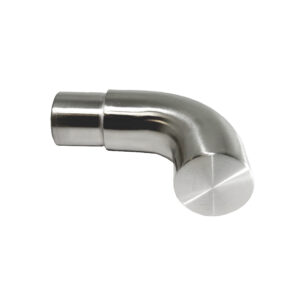
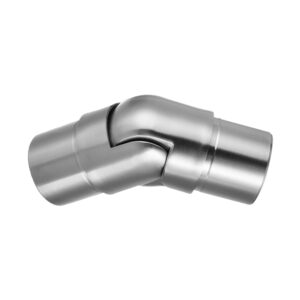
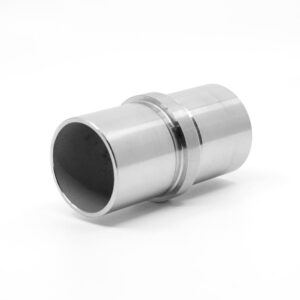
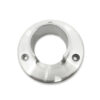
✔ Stainless Steel Spigots: These are the foundations of the system.
✔ Tempered Glass Panels: Custom cut to fit your railing design.
✔ Drill & Concrete Anchors: For securely attaching the spigots to the ground or mounting surface.
✔ Level, Measuring Tape, and Safety Gear: Essential for accurate measurements and safe installation.
3. Installation Steps
Follow these steps to install your spigot system with ease:
Step 1: Mark the Spots
Use a measuring tape to mark the exact locations where each spigot will be installed. Ensure that the marks are evenly spaced and aligned for a balanced and professional look.
Step 2: Drill Holes
Drill holes into your mounting surface—whether it’s concrete, wood, or another material—where the spigots will be anchored. Use the correct drill bit for the type of surface you’re working with.
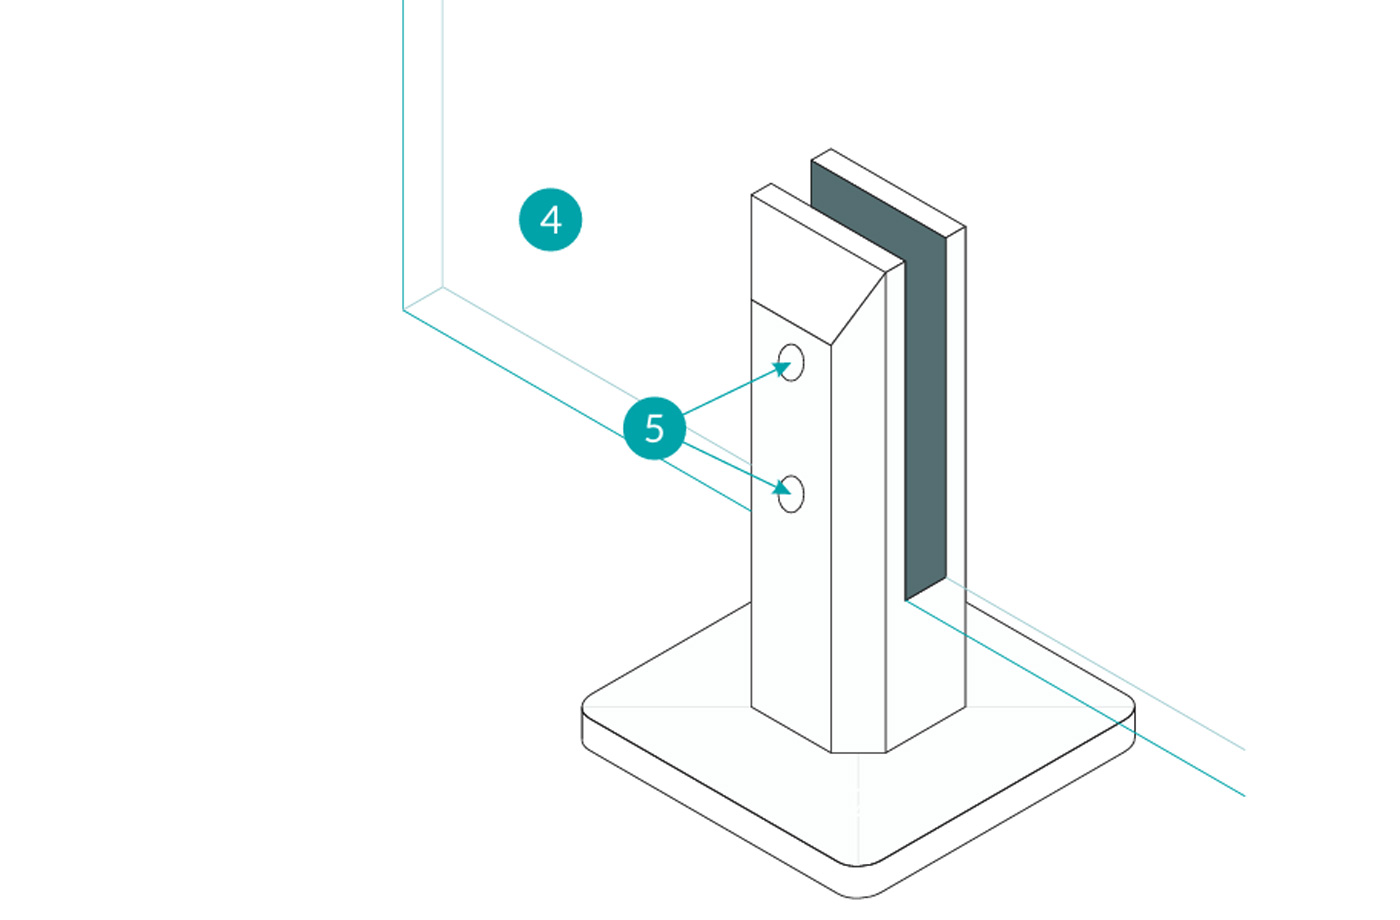
Step 3: Install the Spigots
Place the spigots into the drilled holes and secure them using bolts or anchors. Make sure they are tightly fixed in place to prevent any wobbling or instability.
Step 4: Set the Glass Panels
Carefully place the tempered glass panels into the spigots. Ensure they are properly positioned before securing them. Tighten the clamps around the glass to hold it firmly in place.
Step 5: Check Alignment
Use a level to confirm that the glass panels are perfectly straight. Adjust any panels if necessary to ensure the railing is aligned properly and securely fastened.
💡 Pro Tip: Always opt for tempered safety glass to meet building codes and ensure long-lasting durability, especially in high-traffic or outdoor areas.
4. Why Choose the Spigot System?
The spigot system offers several advantages, making it a top choice for both residential and commercial projects:
✔ Sleek, Frameless Design: Ideal for achieving a modern, high-end aesthetic.
✔ Fast and Easy Installation: Efficient to install, saving you time and effort.
✔ Versatile Applications: Perfect for balconies, staircases, pool fences, and more.
✔ Weather-Resistant: Designed to withstand the elements, offering long-lasting performance.
Get Stunning Glass Railings Materials from West Railings!
Looking to elevate your space with a stylish, low-maintenance glass railing system? West Railings have the spigots that will fit both residential and commercial projects. Whether you’re enhancing your balcony, pool, or staircase, we’ve got you covered!
Start shopping from us today!